


I am so excited to share my first ever blog post on how to sew this fast and easy skirt!
First I would like to recognize and give a special thanks to my dearest friend Elizabeth for helping me get this blog set up and looking pretty! Check her crafty blog out here (ElizabethAve) for lots of sewing tutorials and crafts!
I would also like to recognize and thank my dad for taking the photos used for this blog post and surprisingly no ankles were broken while jumping off rocks during this photo shoot.
Materials:
Mid to Heavy weight knit fabric –
3/4 yard (mine's from Jo-Ann Fabric)
2 inch wide elastic – your waist
measurement + 1 inch
matching thread
basic sewing supplies/machine
nice fitting stretch pencil skirt
(to use as pattern)
pattern paper (I used wrapping paper
with the grid lines on the back)
Fabric: The fabric I used was a heavy knit stretch fabric and was easy to work with, I wouldn't recommend light weight knits or knits with a lot of drape for this type of skirt.
1. Making your pencil
skirt pattern
First I laid a nice fitting pencil skirt folded lengthwise
on my grid lined wrapping paper. Put the
middle of the skirt aligned with the edge of your paper and then trace around the
skirt with a pencil.
Because the knit stretches more than
the skirt I was using, you need to remove some width from the pattern you’ve
made. If you choose not to do this, you will end up with a looser fitting skirt.
Now to decide how much to remove…
If you remove
1/2 inch from the outer curve of the pattern piece, you
will end up with a slim pencil skirt that is still a bit loose fitting. If you
want a skirt that fits slimmer, like the one I am wearing in the pictures in
this post, you will need to remove about 1 inch from the outer curve.
To achieve a more dramatic pencil
skirt shape, I also eased the curve in even more from the hip to the legs
(pictured below).

2. Cutting out your
skirt from your skirt pattern
Now that
your pattern piece is ready. Cut two identical skirt pieces on the fold.
3. Sew the skirt pieces together
With right sides facing, sew the two
skirt pieces together at the sides with a 1/2 inch seam allowance. Next use a zigzag stitch along the raw edge, for a finished edge.
4. Sew elastic waistband
Cut a piece of 2 inch elastic about
1 inch longer than the width of the waist of the sewn skirt.
Over lap the ends of the elastic
about 1 inch, creating a loop. With a wide zigzag stitch, sew the overlapping
ends together.

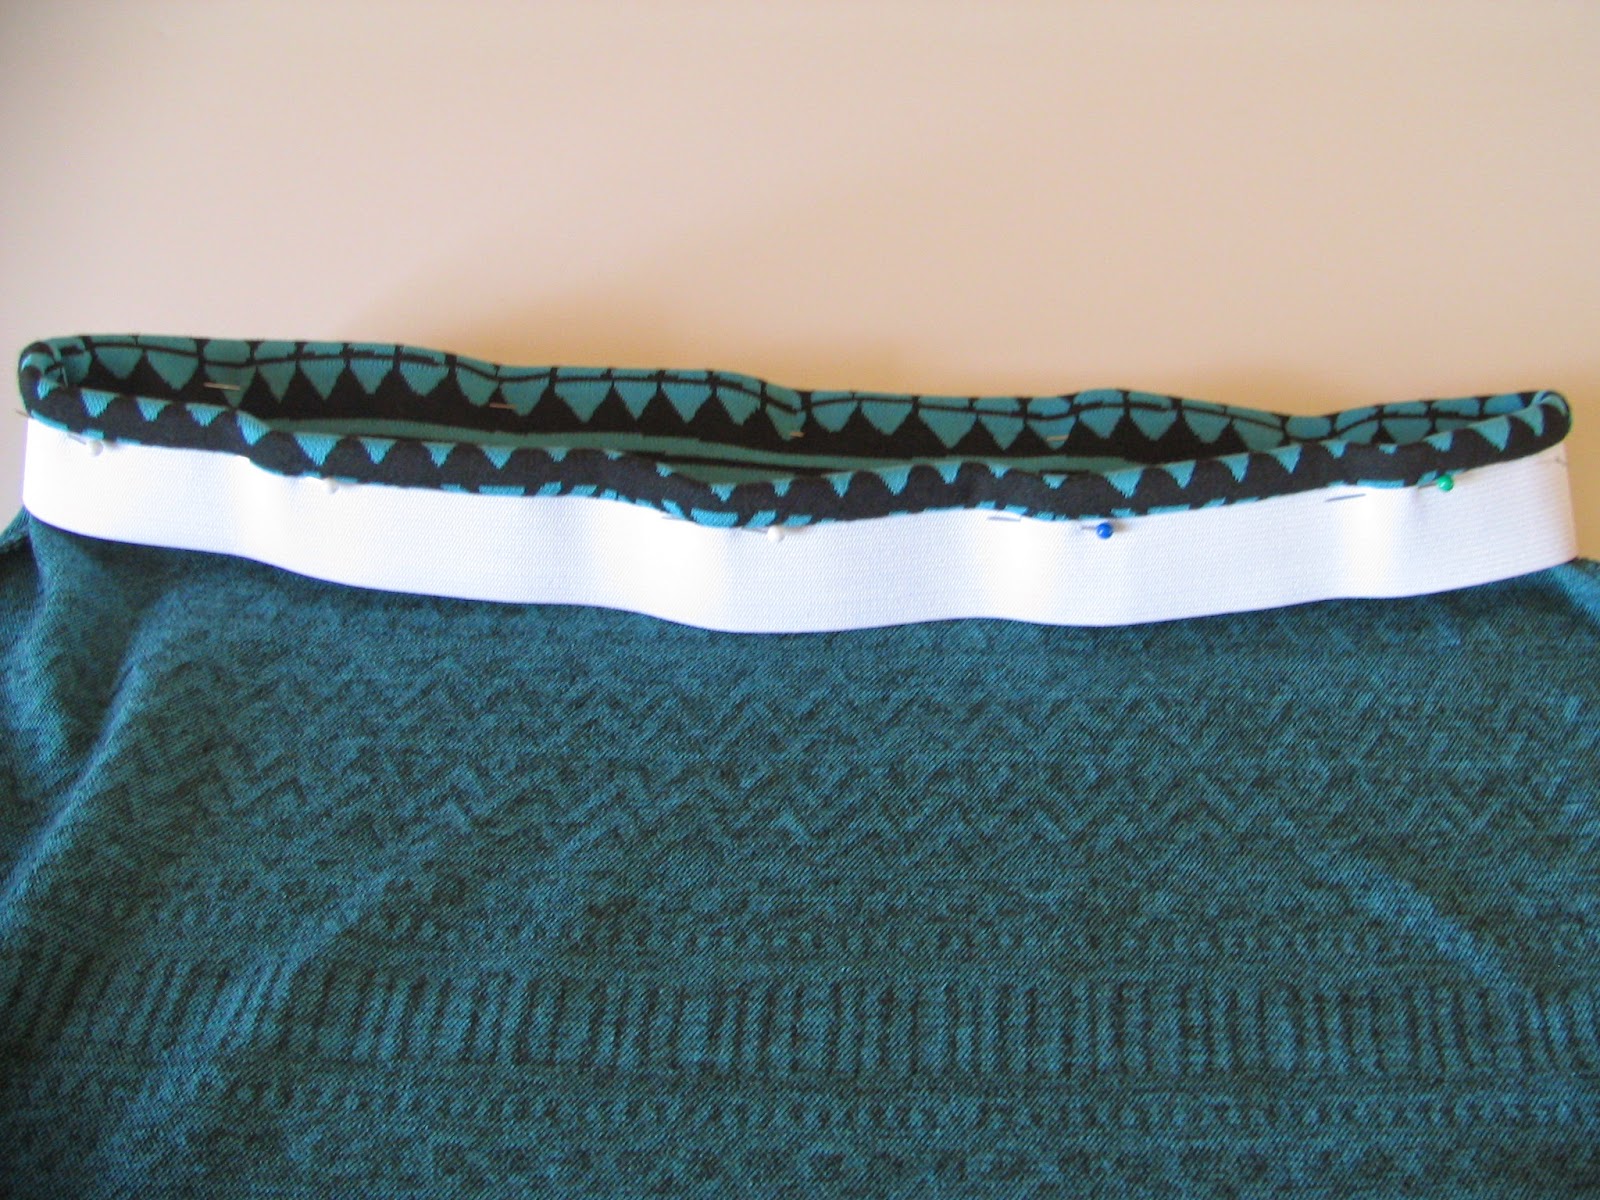
Matching up and pin the
elastic waistband to the skirt. Make sure the skirt is right sides out and
the elastic band is pinned around the outside of the waist.

Sew the elastic waistband to the
skirt with a 1/2 inch seam allowance.
Now that the waistband is sewn to
the skirt, flip it up. Then, flip it down again into the inside of the skirt.
Stitch in the seam (also called
stitching in the ditch) to secure the waistband and to keep it from flipping
up.

5. Hem the skirt.
Try the skirt on and make sure it is
the length you want.
fold the bottom edge under 1/2 inch
and then again another 1/2 inch, then top stitch in place.

I hope you enjoyed this first blog post and thanks for reading, if you have any questions or comments please feel free to write them below!
How have I not sewn an elastic waist band before?!?!? Thanks for the tutorial on it... this will be perfect for a maternity skirt for the summer. xoxo
ReplyDeleteThat's adorable! I look forward to seeing more posts from you!
ReplyDeleteThanks I'm glad you enjoyed it :)
ReplyDelete